Getting a proper nail manicure is an integral aspect of your makeup. It assumes equal importance to your cosmetic jobs. Just as you select the finest fabrics to match your personality, having the ideal nail manicure is essential.
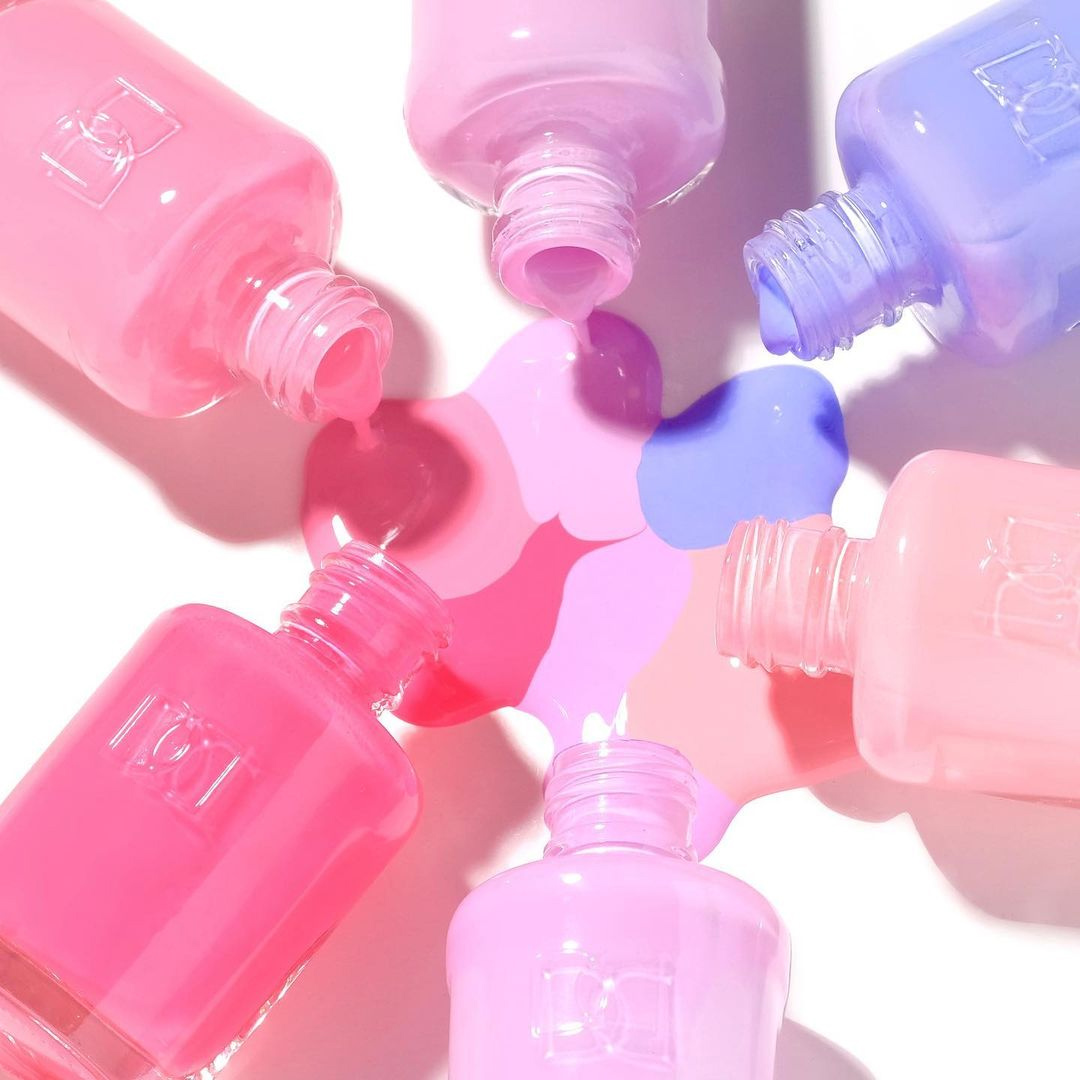
While you have different kinds of nail polish available on the market, like acrylic, gel polish, dip powder, faux nails, etc., a significant majority of women prefer the gel manicure. The crucial distinction between gel manicures and the others is that gel manicure jobs are durable and easy to apply. They offer a radiant finish that is not easily achievable with other manicures.
Though it is easy to have a gel manicure at home, people generally approach the nail salons for the job. However, the present pandemic condition has resulted in the closure of nail salons worldwide, forcing people to go for DIY jobs. Under such circumstances, it is best to have your gel nail polish kit handy.
What Does a Gel Polish Kit Contain?
Your gel kit should contain the following items.
The nail file is a crucial ingredient of any nail polish kit. The nail file proves helpful in preparing your nail for the manicure. Every manicure requires your nails to be in perfect shape without any sharp edges. The nail should also not be excessively long. Having sharp edges can end up damaging the manicure and encouraging lifting of the polish. While using the nail file, one should ensure to sterilize it before use.
Similarly, the nail buffer helps smooth out the nail surface and edges to prepare it for the gel manicure.
A gel polish kit is incomplete without the UV lamp. Today, you find many people using LED light instead of the UV lamp. The UV lamp plays a critical role in your gel manicure. A gel manicure requires curing the polish at every stage of the application process, starting from the basecoat.
One should be careful when using the UV lamp. Generally, the UV lamps are not large enough to allow you to insert all your fingers into them. The thumb rule is that you insert your fingers four at a time. Finally, you can cure the thumbnails together.
The basecoat and the topcoat applications form critical aspects of your nail polish kit. The basecoat application is essential because the gel polish sticks to the basecoat and not to the nail. Similarly, the topcoat is necessary as it forms a protective layer for your nail gel polish. It also lends radiance to the manicure and makes it look sparklingly beautiful.
When you apply the gel polish payer, some of the polish could spill over to the skin or the cuticles. You should ensure to wipe the polish off smoothly. A gel cleanser proves handy under such circumstances. You can use the lint-free wipes present in your nail polish kit. While doing so, you should be careful not to wipe out the gel from your nails.
Some nail polish kits contain the primer coat that you apply before applying the gel polish. You also find these kits coming with other paraphernalia such as brushes, cotton balls, and a nail polish remover bottle.
Tips to Get the Best Nail Manicure
You now have your nail polish kit in place. These general nail tips can help you to proceed with your gel manicure at home.
While preparing your nails is crucial, it is vital to start with clean hands. It involves getting rid of the excess oil and dirt from your nails. You should wash your hands and nails with soap and warm water. Dab your nails on a soft, absorbent towel to dry out the moisture.
The next step is cutting and shaping your nails. Many people love the square look, whereas many prefer the oval-shaped nails. Either way, it is essential to trim the nails and blunt the edges. Your nail file can prove handy now.
Your cuticles can come in the way of an excellent manicure. Hence, you should push your cuticles into their grooves using an orangewood cuticle pusher. Use a nail buffer to remove the dead tissue from the nail surface. It also ensures to make the nail surface smooth.
Apply a thin layer of basecoat. It is advisable to leave out a small gap near the cuticle. You should now cure the basecoat layer under the UV lamp for some time to allow it to dry before applying the gel color nails.
Use the best quality gel colors available on the market. When applying the polish, you should ensure to do so in thin layers. A thick coat can lead to wet polish and smudges. Curing the nail polish under the UV lamp is necessary.
The topcoat application is the final step in the procedure. The topcoat helps seal the polish in place. The nail edges require special care as a proper gel manicure helps prevent the chipping away of the polish. Cure the topcoat layer in the UV lamp to get shining nails that you can show off on your Pinterest and Instagram social account handles.
Follow these tips to get the best gel manicure.